Good morning lovely readers & friends
I actually wrote most of this newsletter in November but never got around to sharing it or adding photos, so HAPPY NEW YEAR y’all.
About a year ago we finished building our off grid shower room, we got hot water & our lives changed. For the 6 years before this moment we had to make a wood fired bath when we wanted to get clean with hot water. Luckily for us we found a cast iron bath tub on our land hidden behind a sea of brambles in our first year arriving there, we cleaned it up & set it up on blocks close to our ruin aka the tiny house. The wood fired tub is super romantic & a beautiful way to spend an hour or so on a chilly Winter evening, we lay in the hot water & watch the stars, listen to the owl who flies overhead every evening & occasionally enjoy a glass of wine in there too. But the reality is this - it takes an hour or so at least to fill up the tub & it uses a lot of water, so when we are filthy from working the land & just need to clean off before bedtime it is a serious task that we don’t always have the energy for.
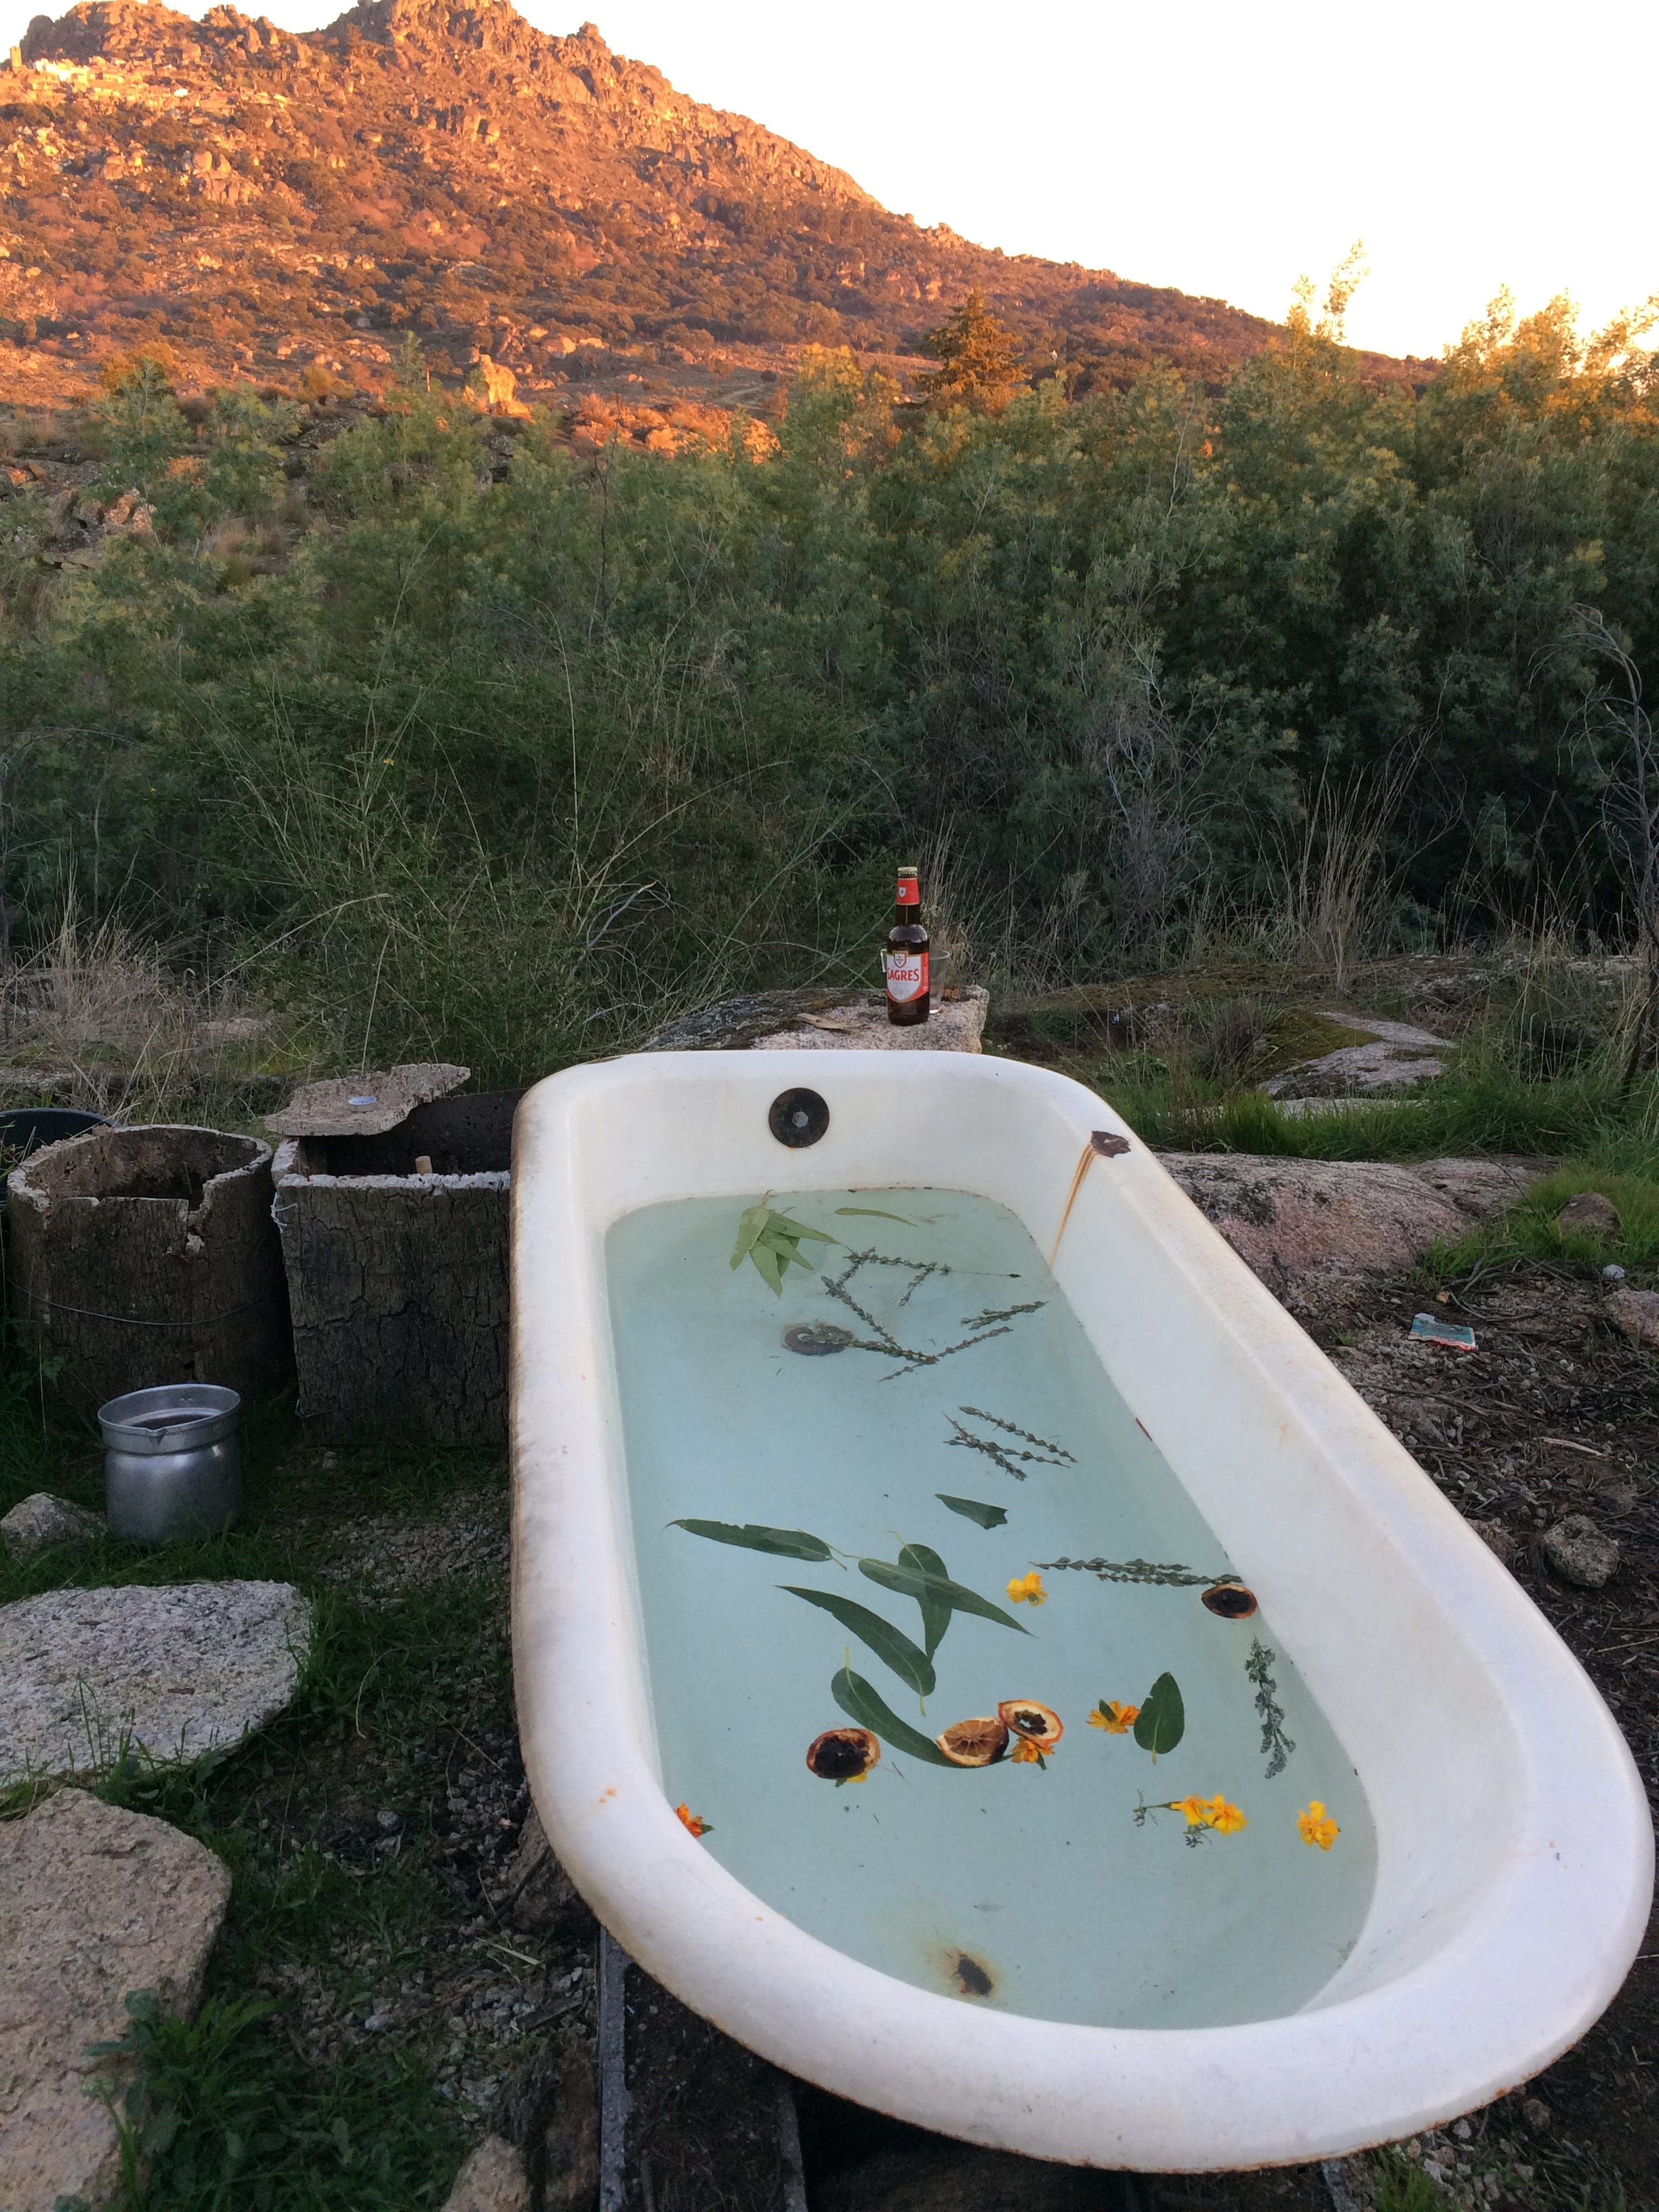
our magical bathtub under the stars & that view!!
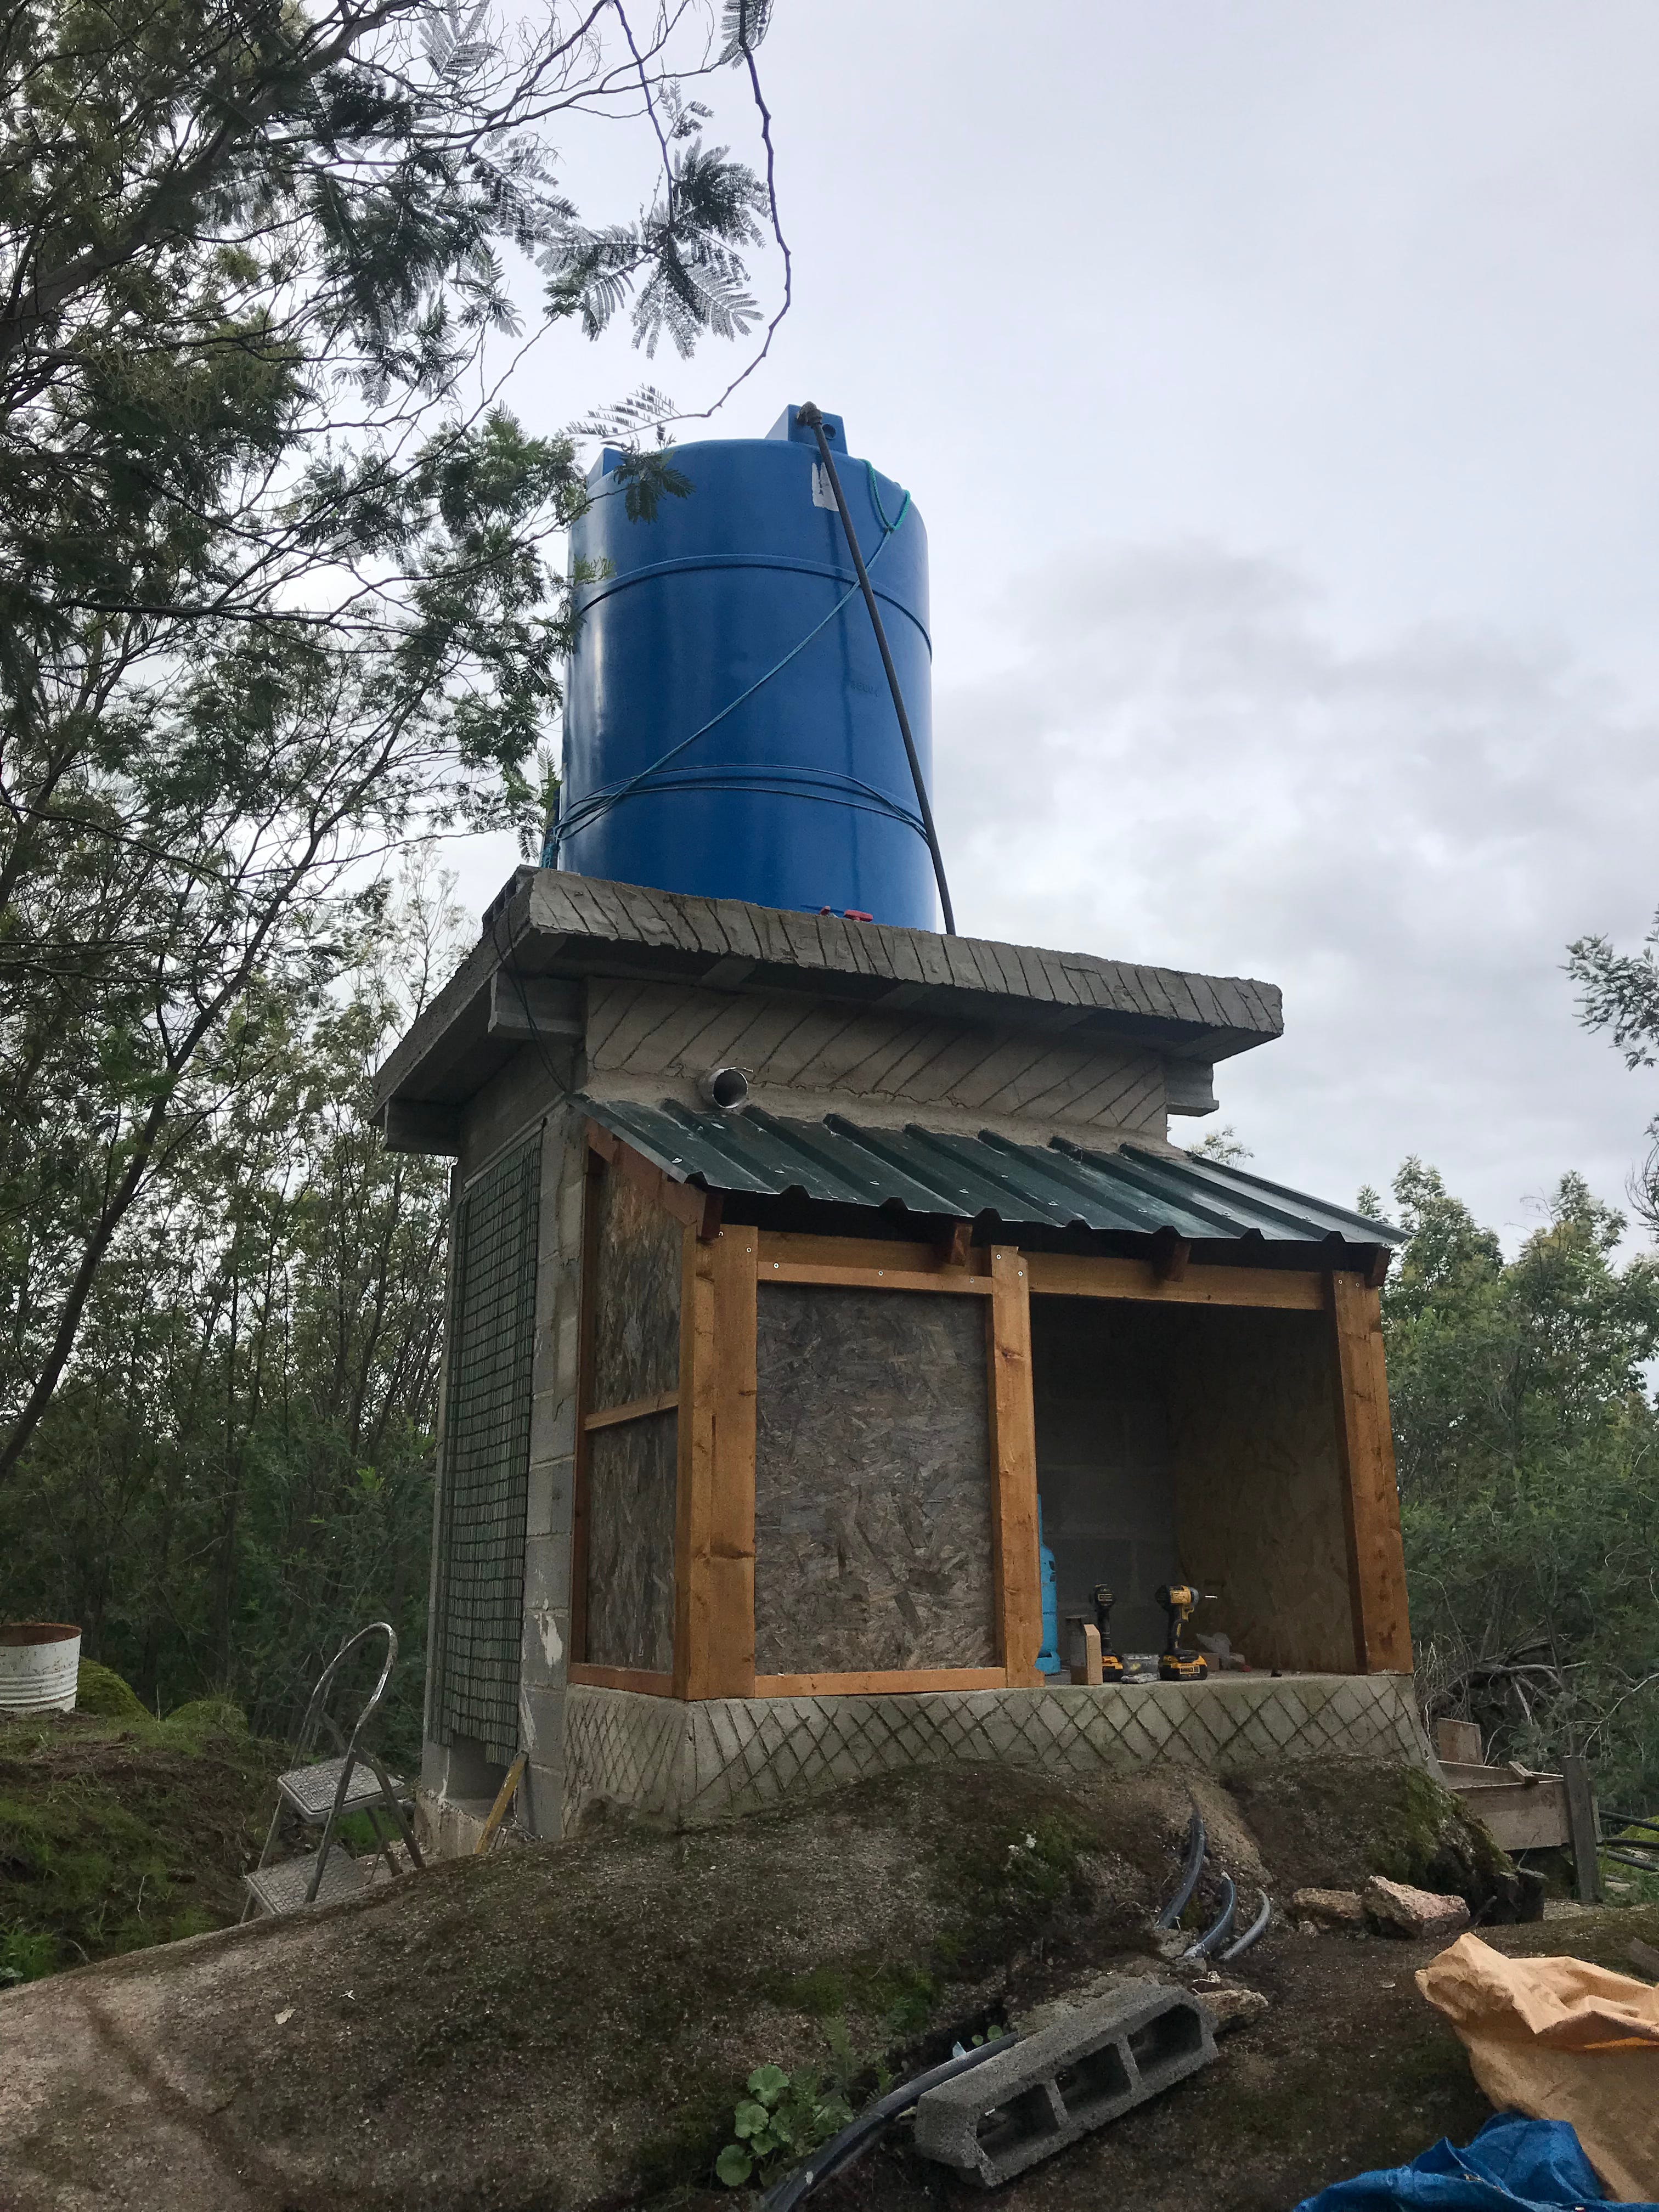
In the beginning we built a tower from palettes to hold our 3,500 litre water tank on top because we use gravity to feed water to the house & the rest of the land. We have pipes stretching all the way to the garden & have been able to use gravity to water the trees & plants since we arrived without any trouble. We have been lucky to never has an issue, the water always pumps & there has never been any air locks or issues with the pipes that are buried underground. We decided to take this down because it had started looking a bit like the leaninng tower of Piza & if the tank fell down we would be pretty stuck, the tank cost over €800 when we bought it 7 years ago so we do not want to replace that.
We needed this building to go up quickly & not to cost us a lot of money because we have not been able to save much in the past few years & we really need to work on the stone house, but it is going to be so life changing to have a hot shower, it was worth the detour. Ideally we would have used natural materials but sometimes we have to make compromises on the land, our house is natural with clay bricks & stone but this uses cement blocks & concrete, also lime render & we plan to add some clay plaster to at least make some of it look pretty.
part way through the project
The materials we used for building the hot shower room & everything we put inside are as follows -
cement blocks / lintels for roof
iron mesh for the roof & floor
drainage pipes
pipes to connect boiler to tank & to shower / tap
concrete floor
lime render
hot water boiler / shower unit
12v water pump for pressure
2 solar panels / solar charge controller / 2 batteries - we already had these from our campervan
tap & sink
plaster board for the ceiling
tiles for the floor
tiles for the wall
wood to cover the boiler & wood for the door
12volt LED light for the ceiling
First of all there needed to be a base / foundation for the structure to sit on which was reinforced concrete.
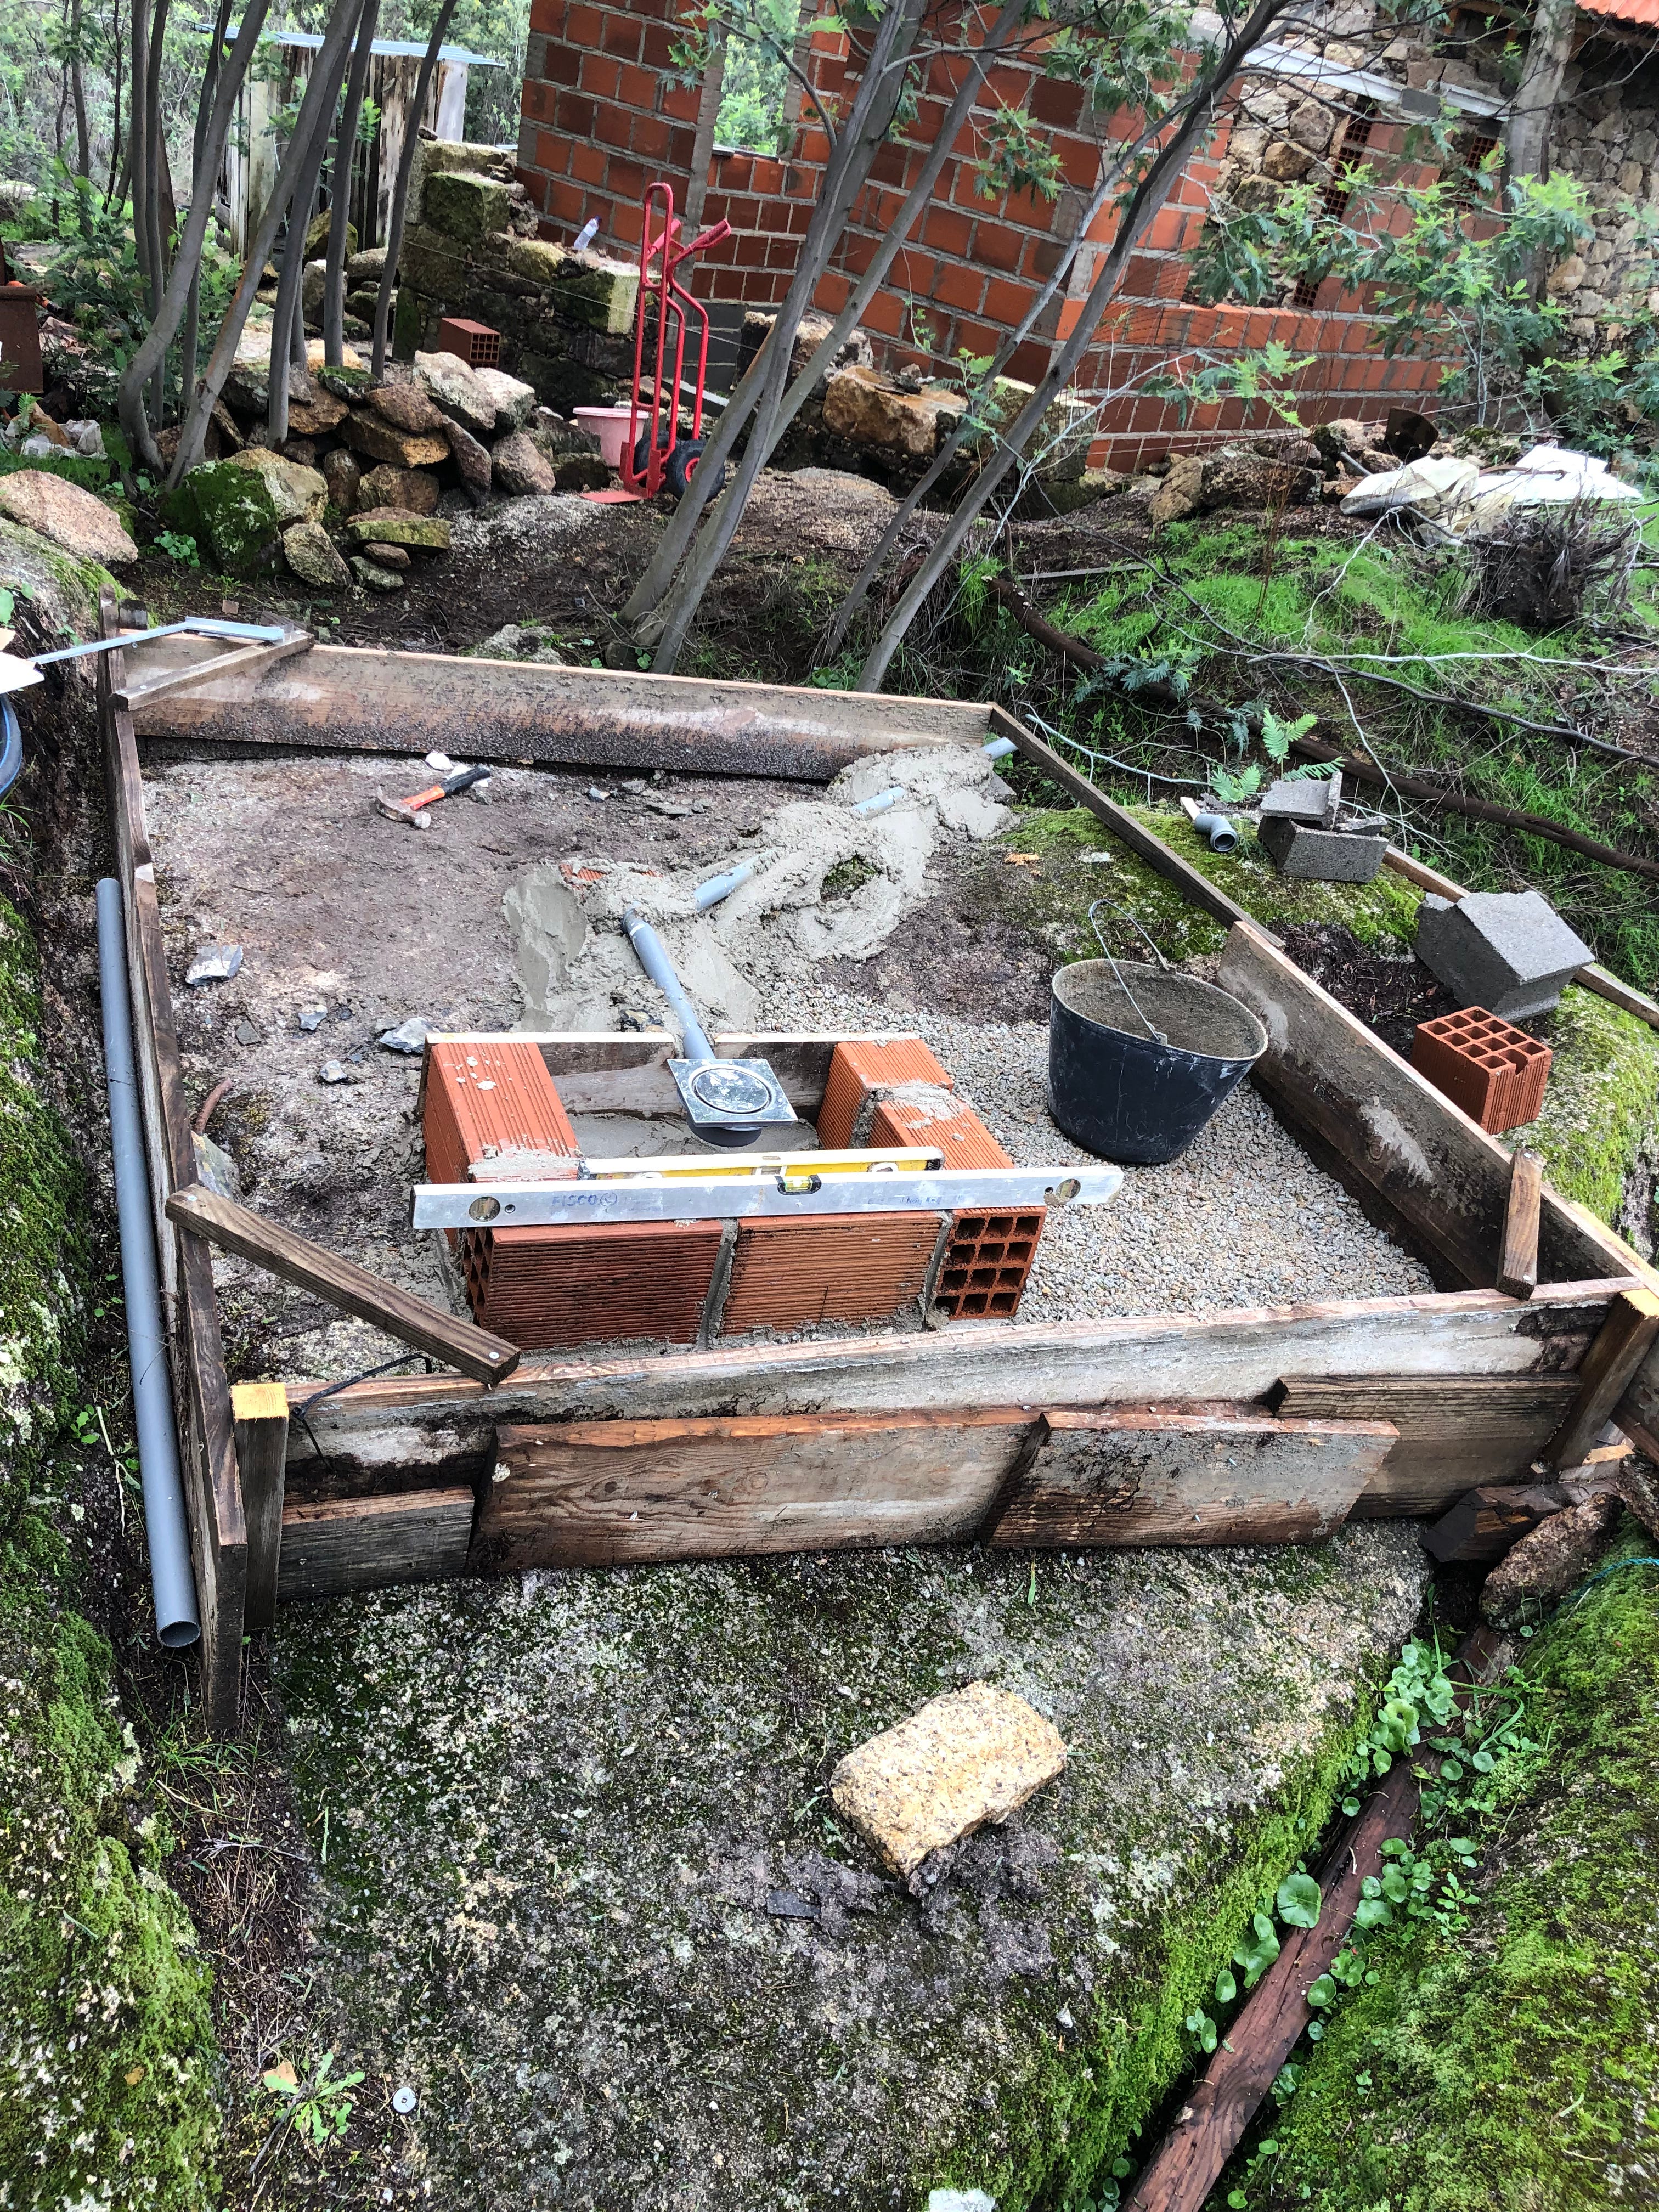
the start of the base of the shower, built on a huge granite rock
Then the walls built up to a reasonable height, doorway left open & a hole for a small window which was kindly gifted to us.
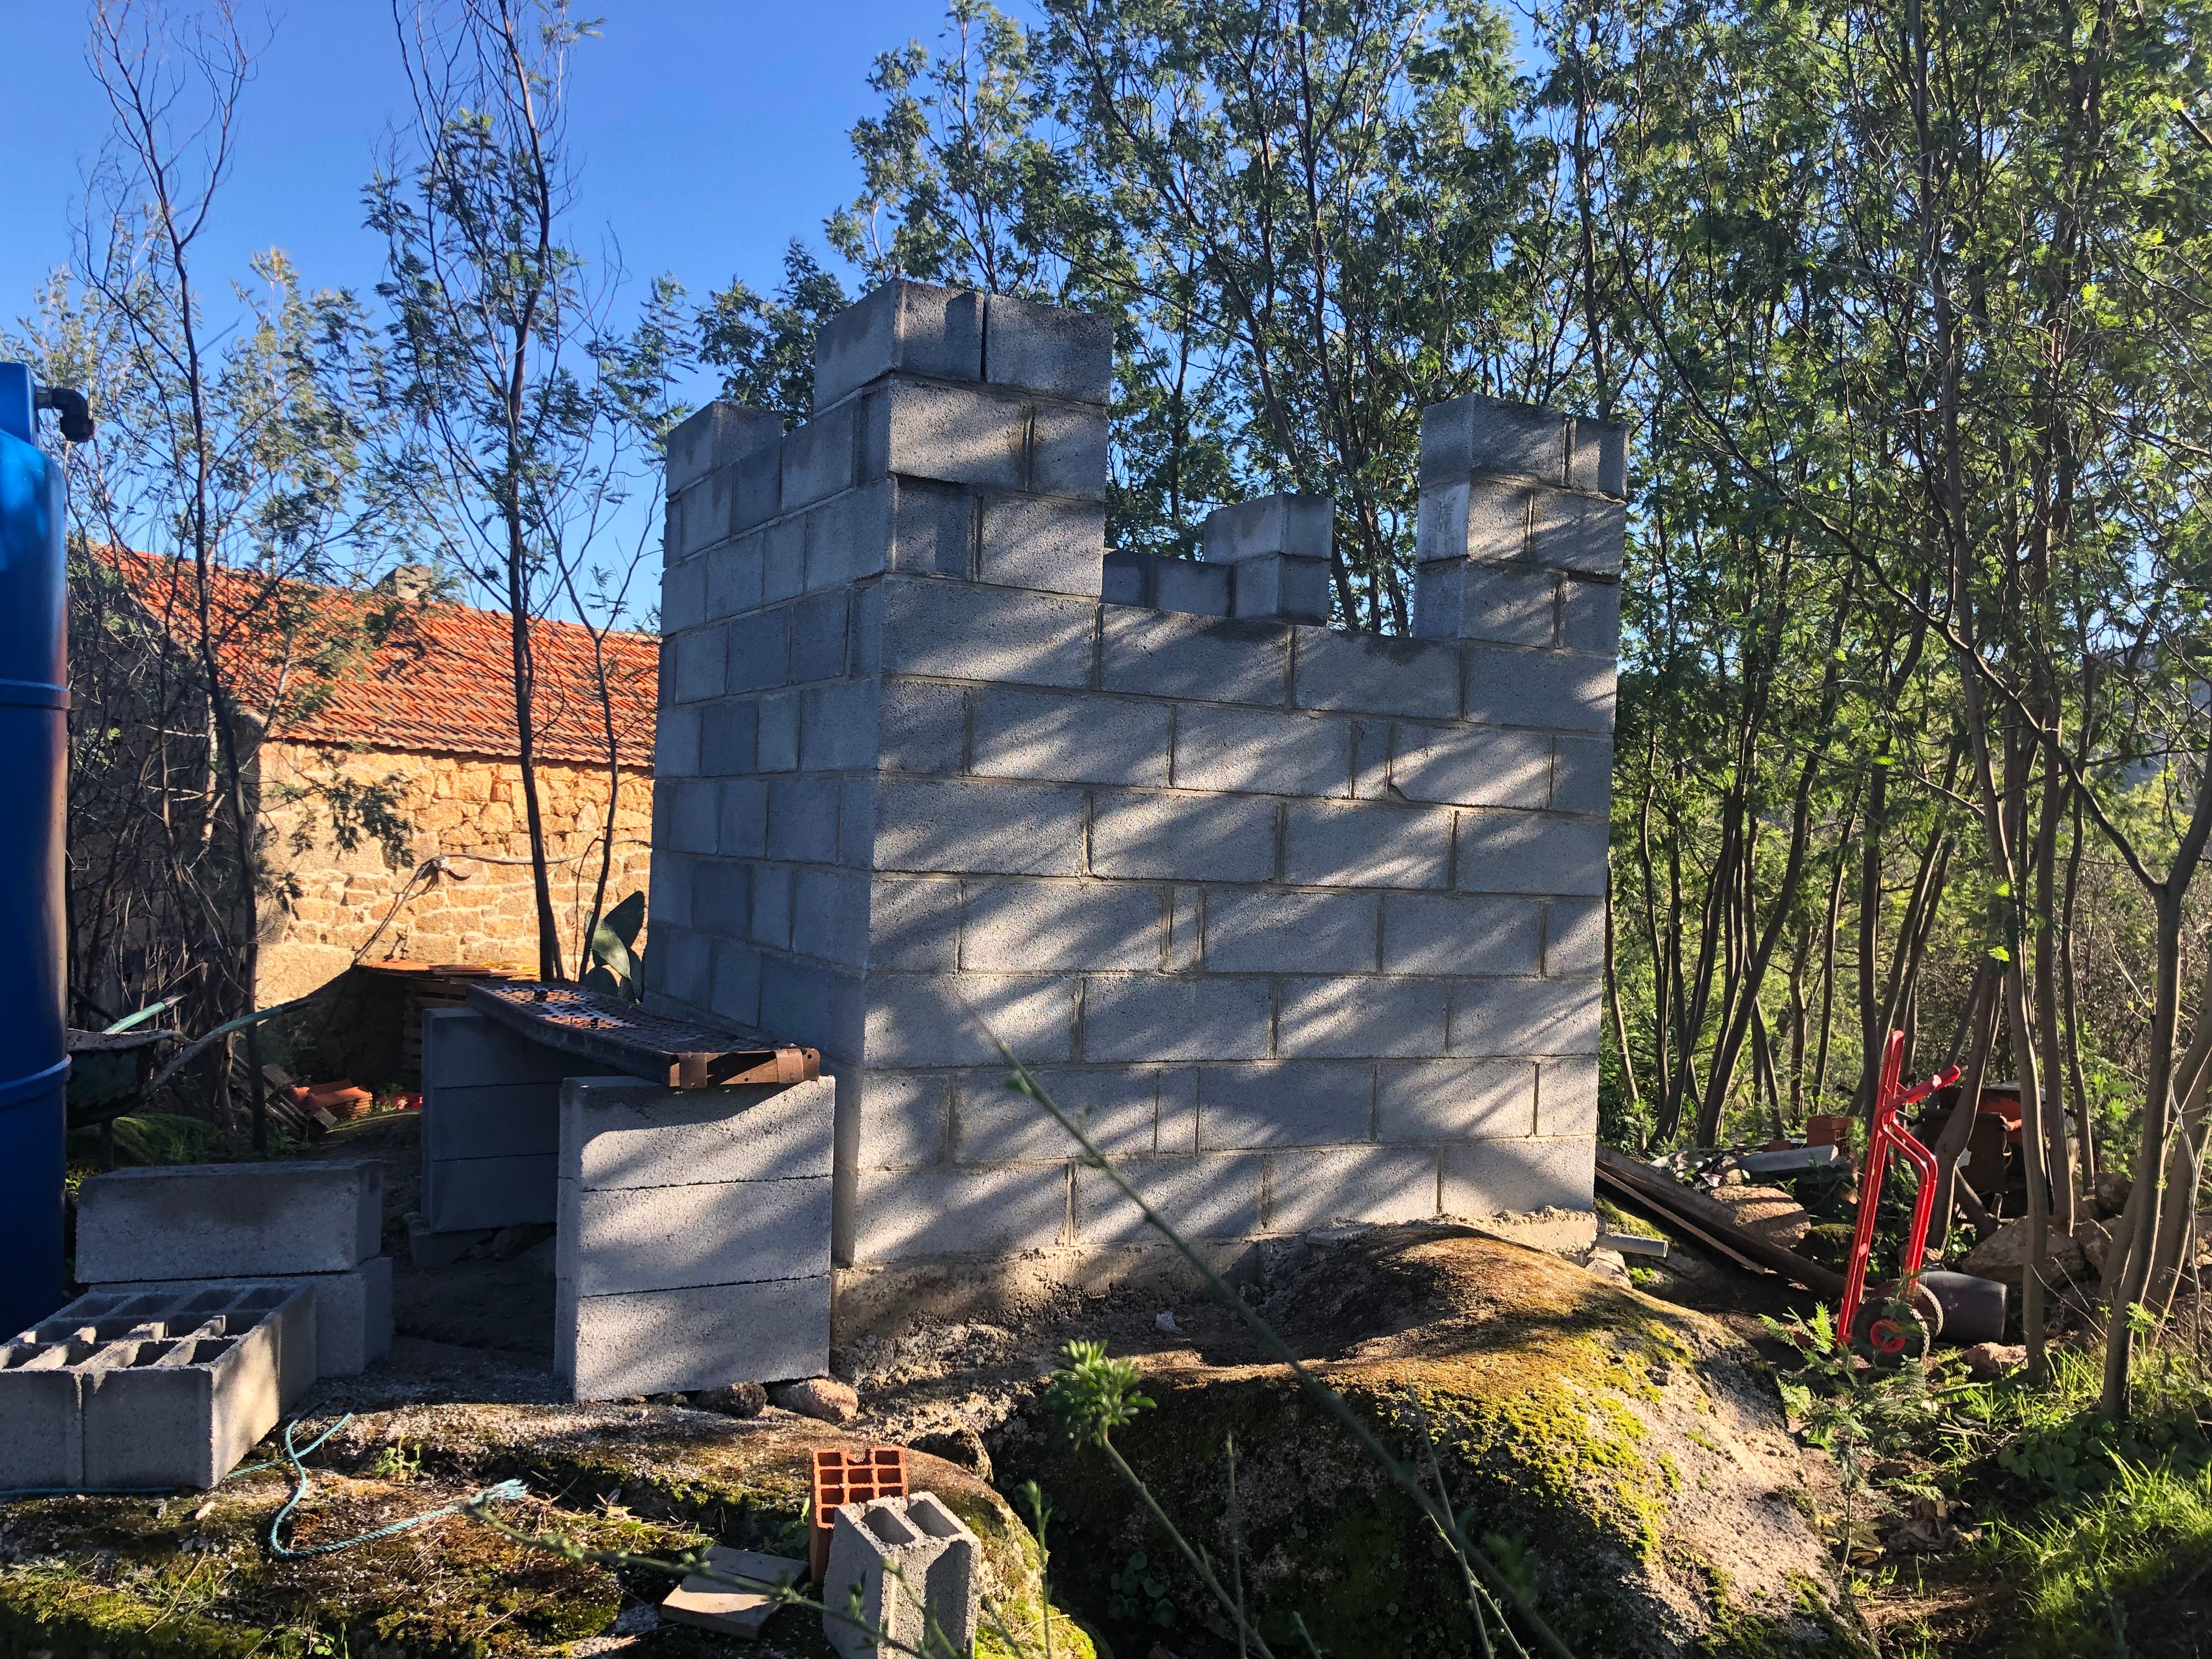
the walls going up up up
The roof is made from reinforced cement & lintels which we had help with.
Tank can be placed back on top at this point & pipes set up to run down the wall to the borehole pump, the rest of the land & connected to the shower.
The drainage was set up inside, it is a wet room style so the floor & the tiling slopes down towards the drain which runs to the outside of the building, a whole new challenge compared to a flat tiling job.
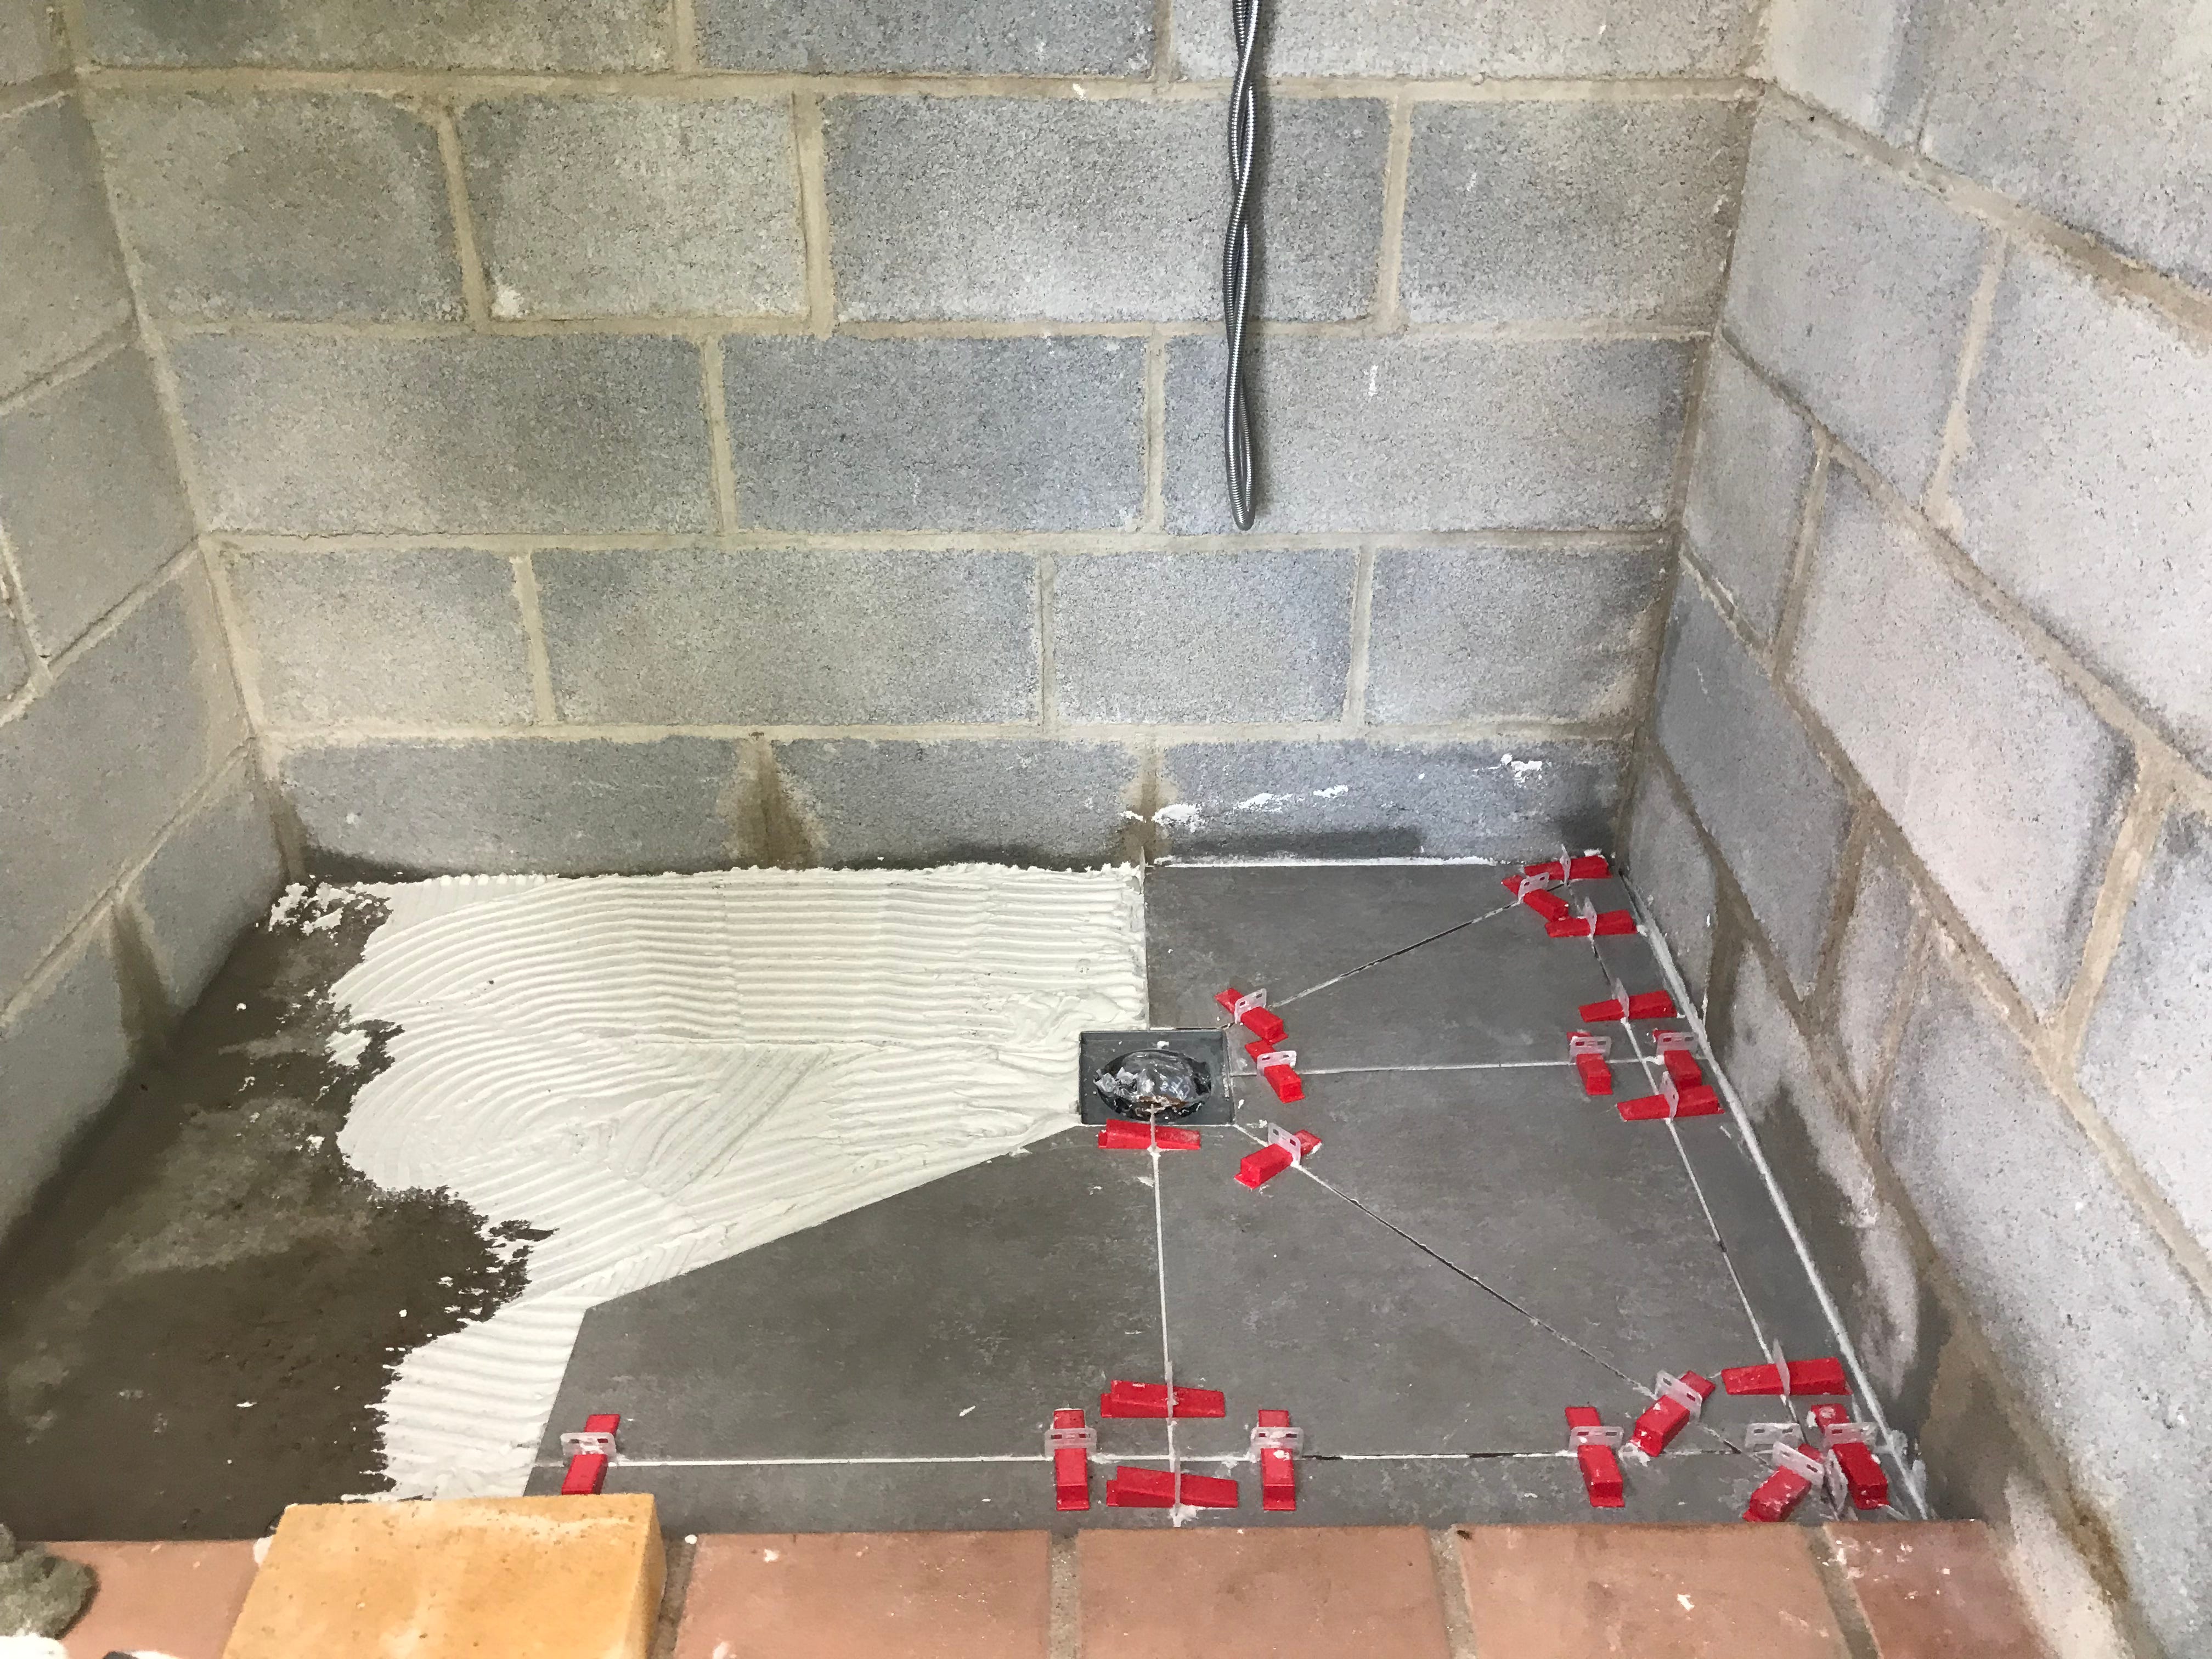
the wet room starts to take shape
The inside pipes & the pump for the shower were set up & tested for quite a while before we decided to set them into the wall
Plumbing is tricky because there is often a leak along the line, when it is fixed then another leak pops up along the line. Marley spent weeks tweaking & adjusting the pipes to make sure they worked correctly.
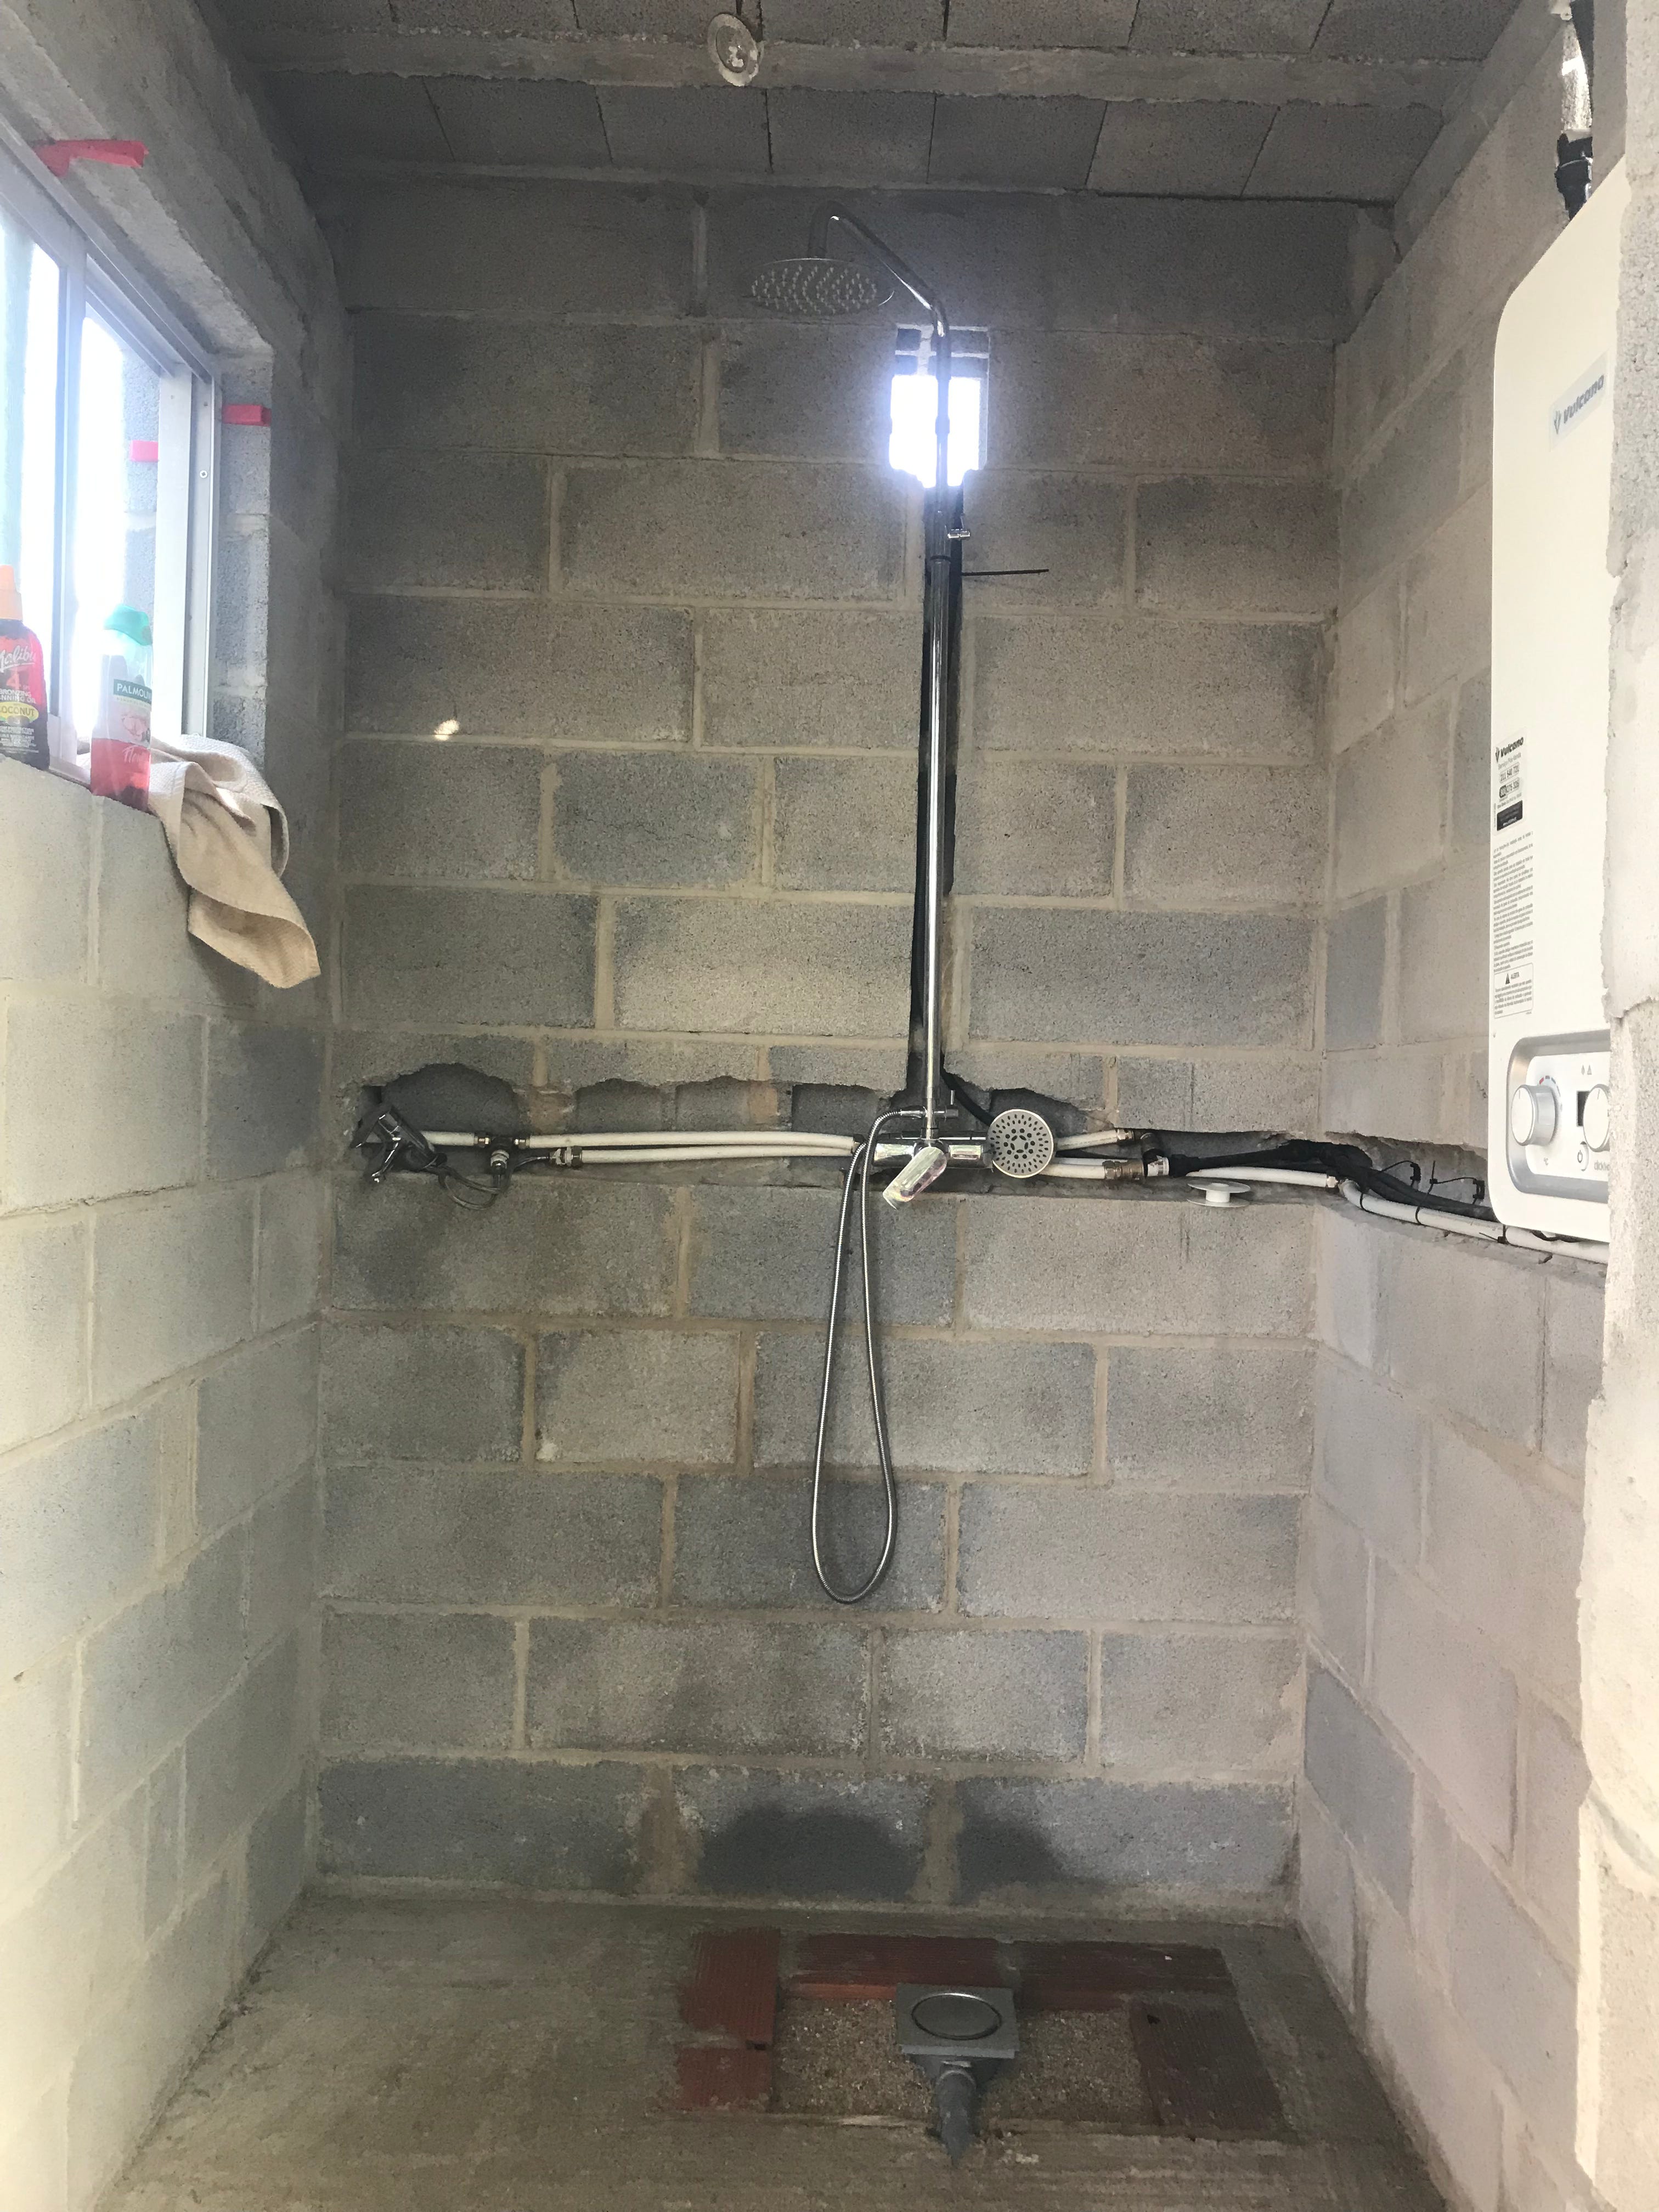
the pipe work is in & the boiler set up for continuous testing before we render the walls
Inside we rendered the walls with lime thanks to the help of our skilled friend Paul, tiled the floor & set up a shower basin edge with red bricks & then tiled the walls half way up with decorative tiles & set up the boiler & the shower, we also set up a tap for a small sink but we still have not added that in yet.
Then the window was set in the wall on a sill of red bricks which were leftover from the shower basin.

The ceiling was plasterboard so we put that up, set the secondhand light from our campervan into it & then painted it with waterproof bathroom paint.
A switch was added to be able to turn on the light & the pump when needed. All electricity was fed back to the charge controller which is in a room outside, powered by 2 small solar panels which were also taken from our campervan conversion, it functions perfectly.
In January Marley built us a wooden bathroom door from wood we already had stored, we hung it together & treated it with cuprinol & now we can enjoy our glorious hot shower in a closed room which makes it lovely & steamy inside there.
We have successfully built a fully off grid bathroom which works 100% of the time with no prior plumbing skills, thanks to the hard work & determination of Marley, some advice from skilled friends & some youtube videos.
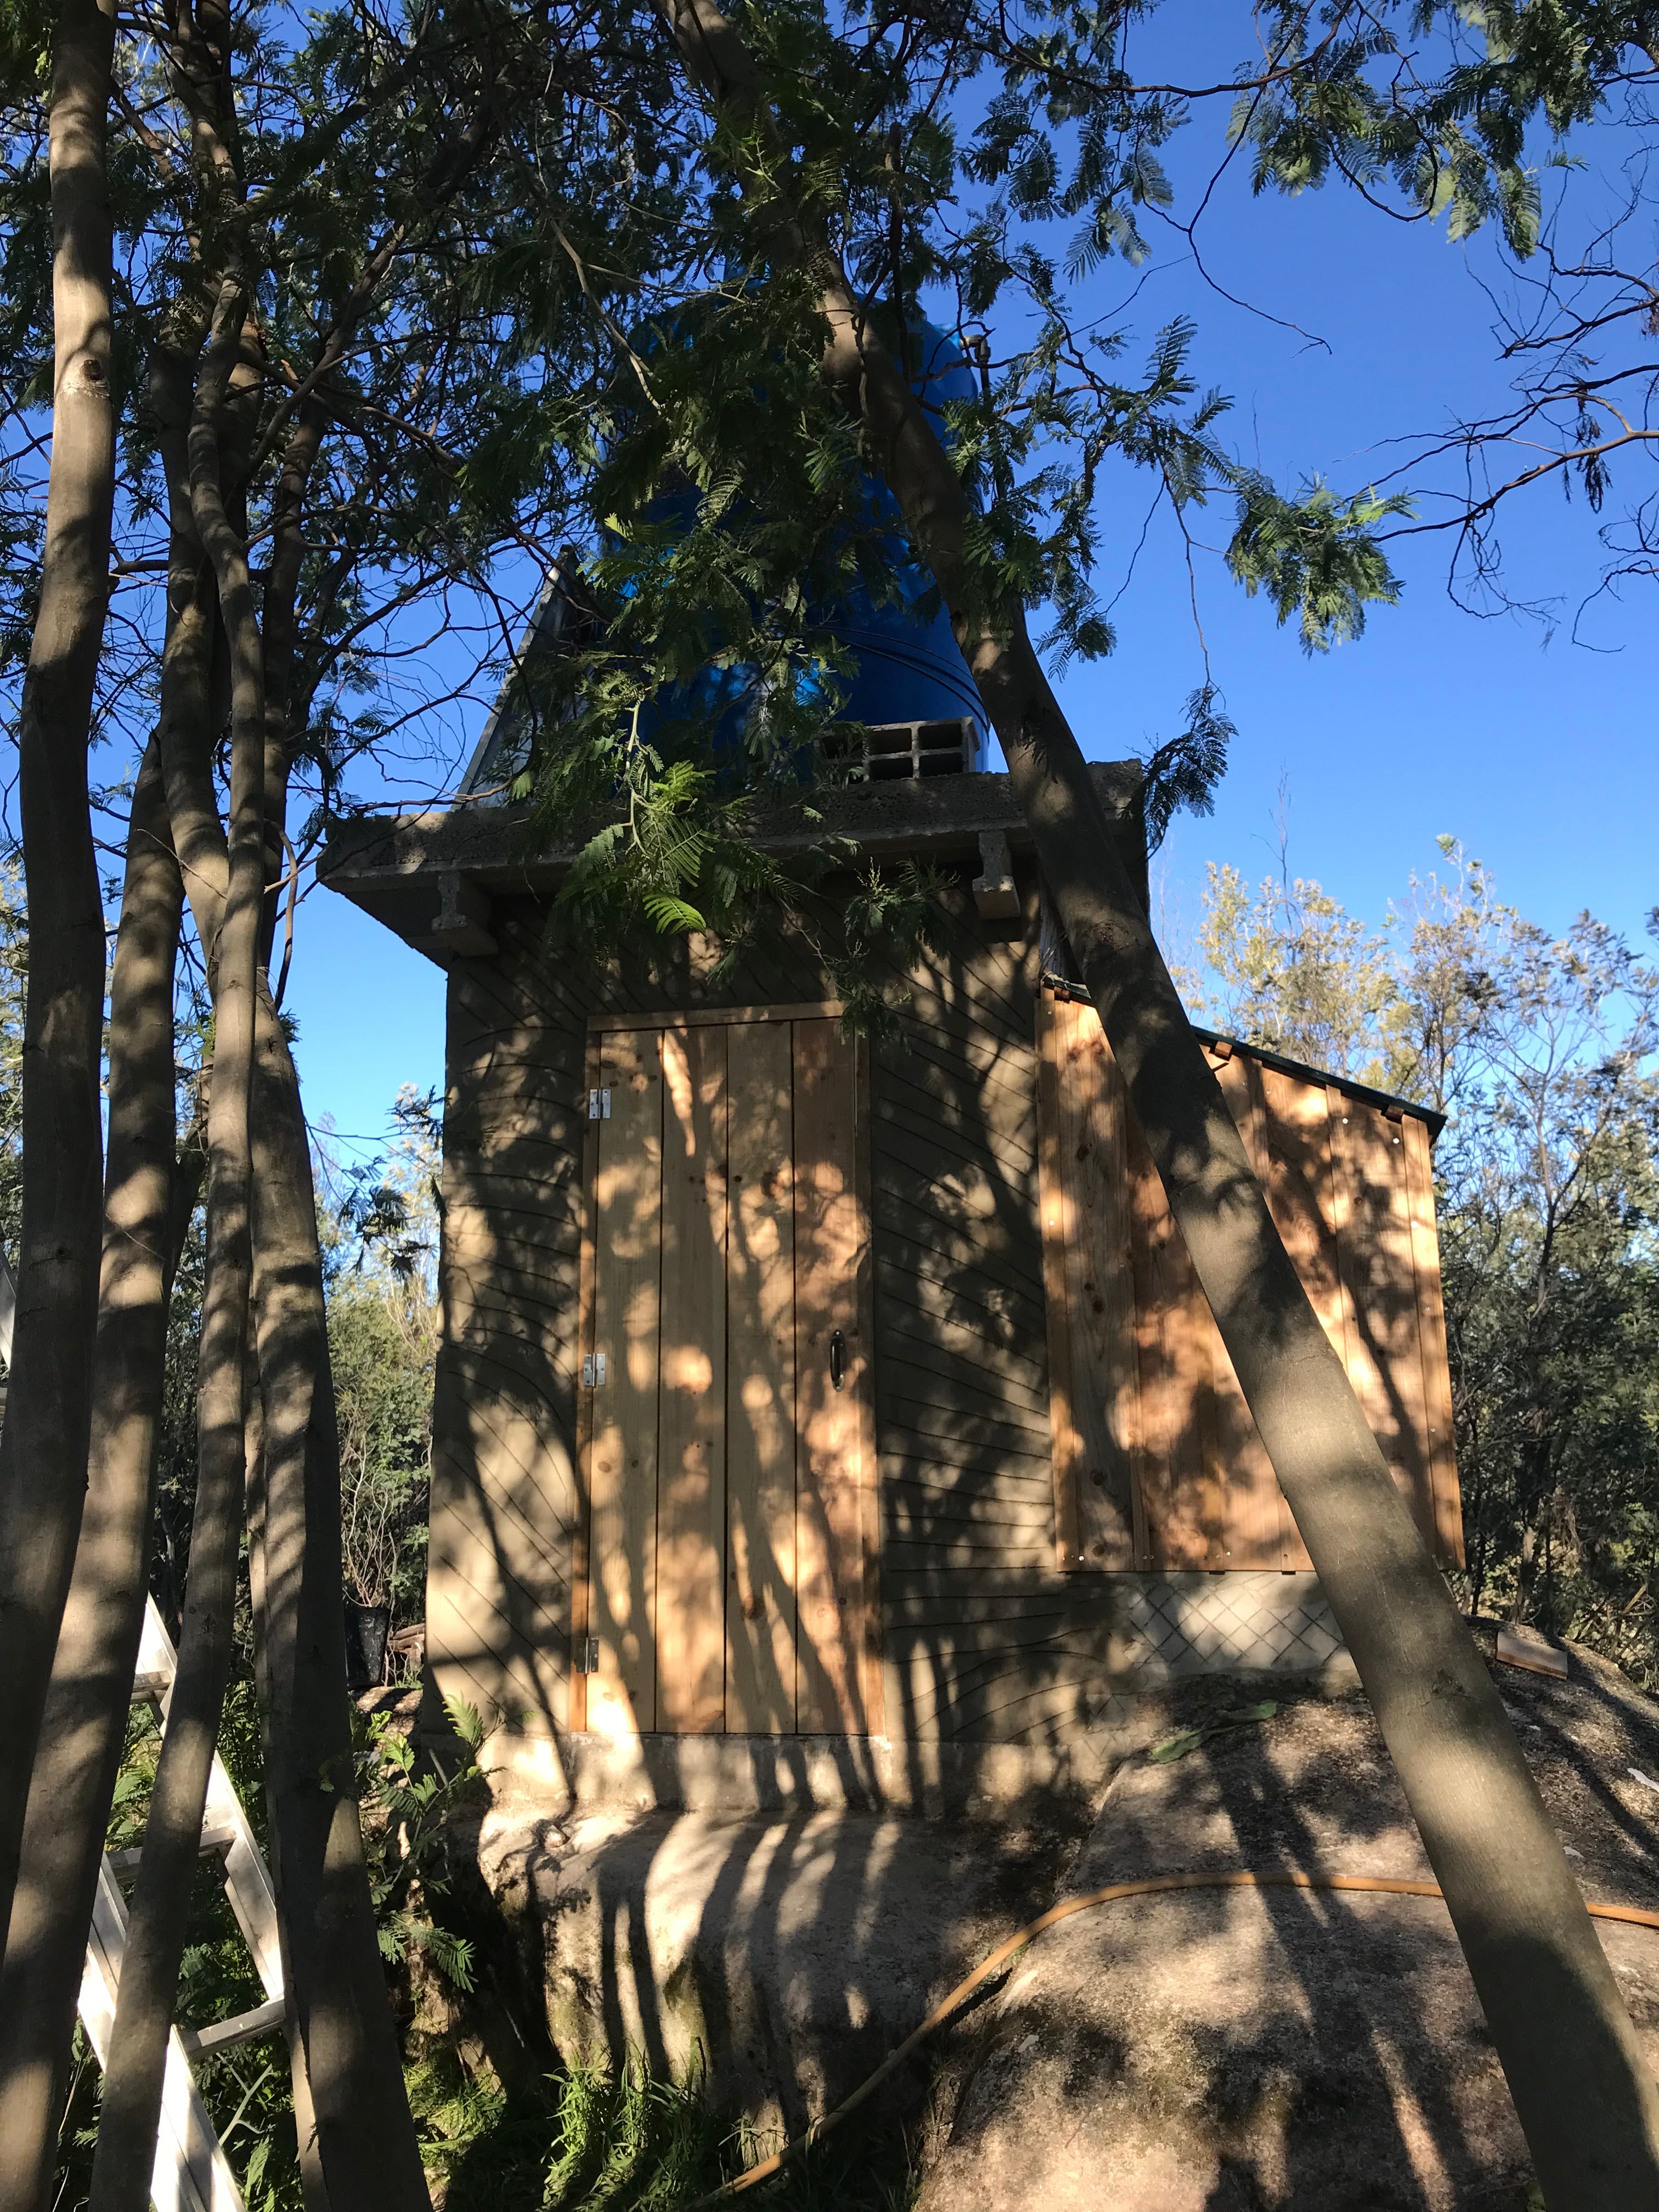
how it looks today, our shower in the forest
Any questions?? Go ahead!!
I am going to try my best to offer you bi-weekly newsletters consistently this year , I lost track last year due to many reasons but I am back with better focus.
If you like reading about our life then please subscribe & follow us on instagram
big hugs xx
Jaymie